Tagging & Color Labeling
You can add Tags and Colors your contact and property files to help you stay organized. Whether you tag a file as a hot lead or color a file to have employees work on just those colors you now have these options available.
Once you have tagged or colored coded a file, you can filter by these tags and colors.
Tagging - these are keywords to ‘tag’ a file. Label a contact as a ‘Hot Buyer’ or a property as a ‘Hot Deal’.
Once you have saved the tag you can now filter your files by that ‘tag’/keyword in the list view of your Property and Contact files to bring up the files that have that specific ‘tag’.
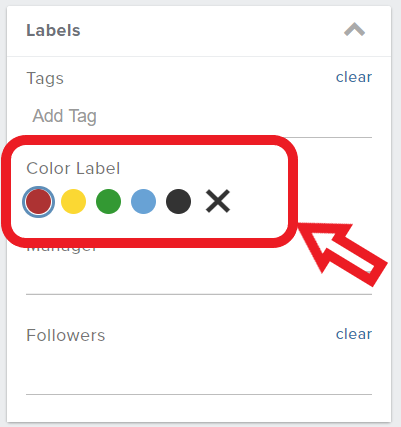
Color Labeling - This is another great way to distinguish your contact and property files. The Color labeling can be used in any manner that fits you. One way to use Color Labeling is assign each employee a color and they can work on just those files that have that color label. In the list view of your contact and properties you can filter your list by color.
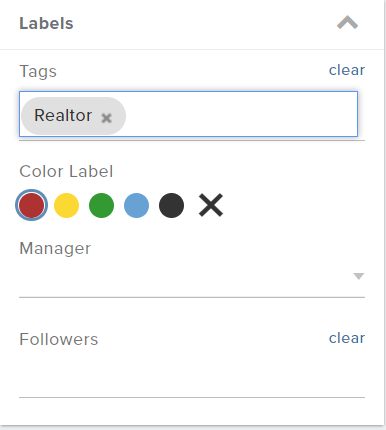
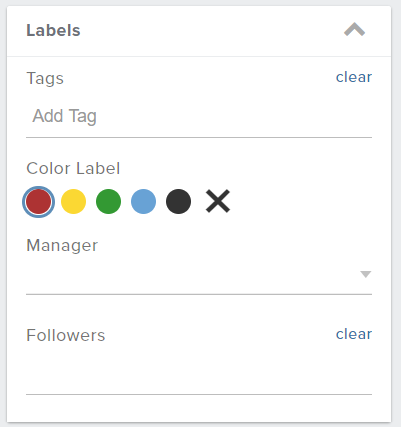
Once you have entered into a Contact or Property file on the right hand side of your screen you will see:
Create Tags:
Click into the ‘Add Tag’ field and start to type your tag then hit ‘Enter’. You will now see your tags listed in the field.
Once a tag has been entered, it saves and will appear in the drop down when entering tags in any other file

Filter Tags:
1. To filter your properties or contacts by tags go to the list view.
2. Next click on the tags drop down menu.
3. Select a ‘Tag’ from the drop down to filter your list based on the selected ‘Tag’.
Color Label Your Files:
Once in a Contact or Property file, click on the Color you would like for this file.
After choosing a color you will see the header for your Contact or Property file change to that color.
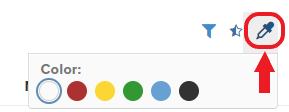
Filter Color Labels:
1. To filter your properties or contacts by Colors go to the list view.
2. Next Click on the Color Label Icon.
3. Select a ‘Color’ from the drop down and filter your list based on the selected color.


Josh Tobias
Comments