How to Customize a Postcard Template
Learn how to personalize your postcard design using our template editor. This guide will walk you through uploading images, adjusting text, changing fonts, and modifying colors to create a professional postcard that matches your brand.
What You'll Learn
- Where to access the Postcard Template Creator
- Upload and position custom images
- Work with circular image frames
- Edit text content and formatting
- Change fonts and text styles
- Modify colors and design elements
- Using Merge Field Variables
- Create Custom QR Codes
You can access the Custom Postcard Template creator from 2 areas:
1. Direct Mail Dashboard: From the left navigation toolbar select
MARKETING > DIRECT MAIL
- Here you will see a Tab labeled ‘Custom Templates
-
Click on ‘Create New Template’ to get started

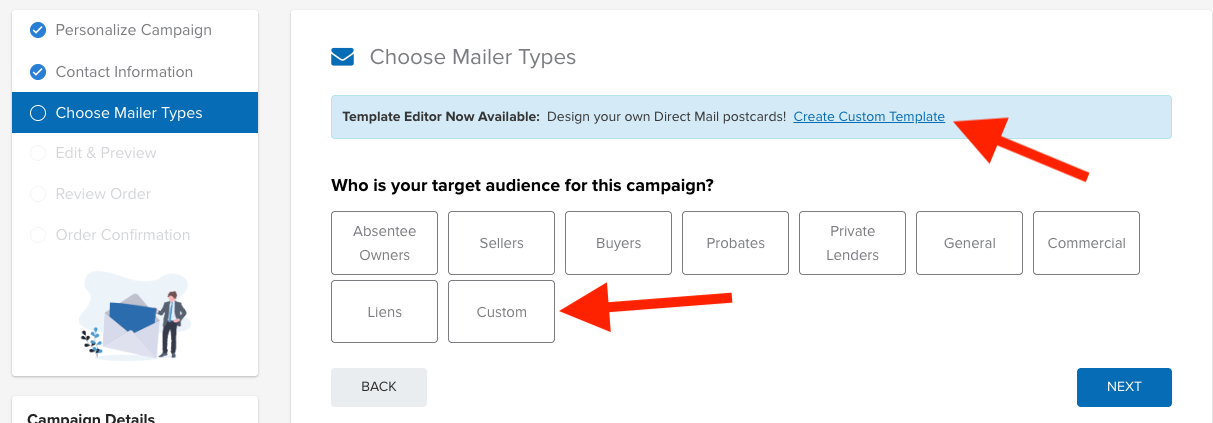
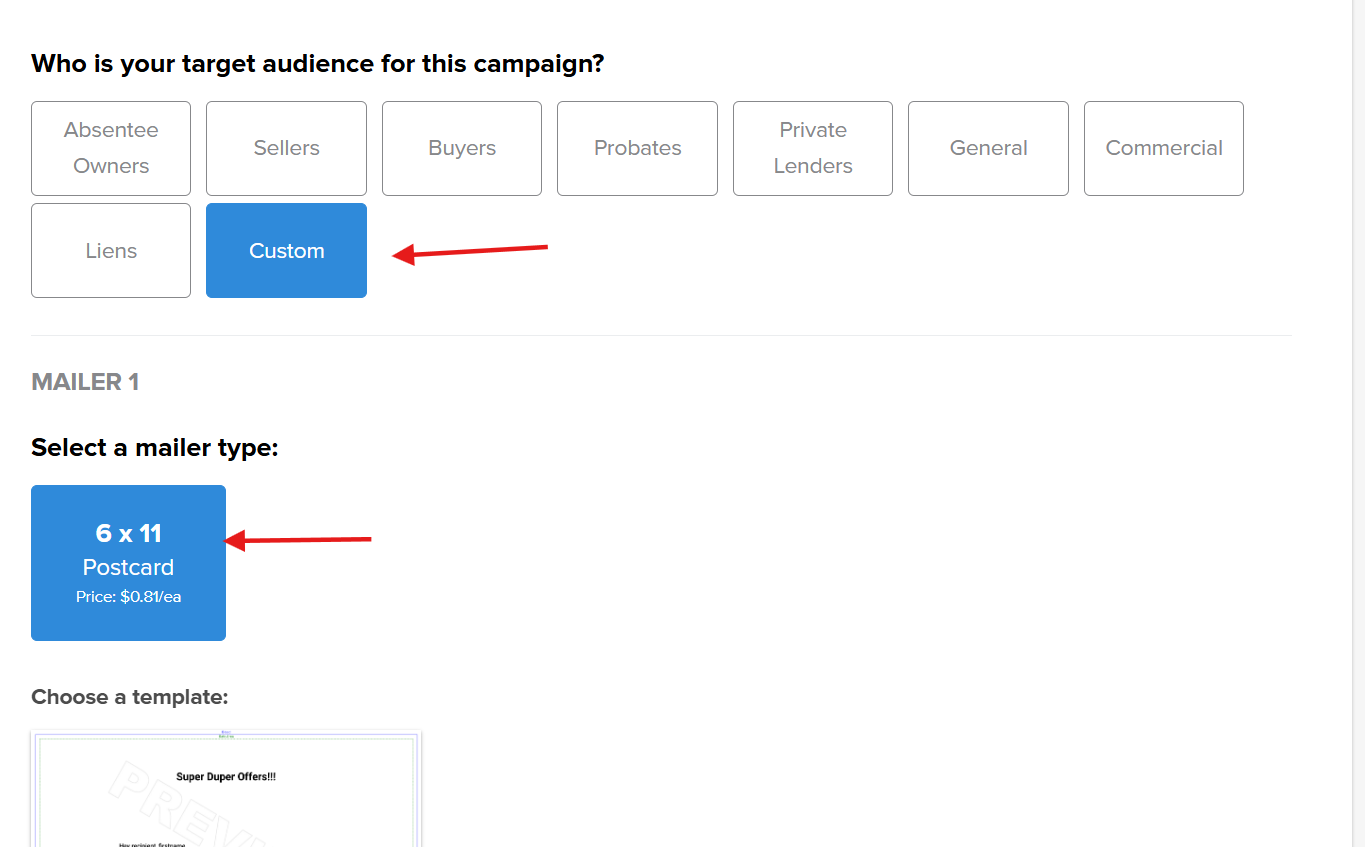
2. Creating a Direct Mail Campaign. As you create the campaign you will be able to Create a Custom Template on the ‘Choose Mailer Typers’ step of the campaign set up process.
- Please Note: If the Postcard has already been created, you will be able to select it. It will be found in the ‘CUSTOM’ option when selecting the 'Target Audience' for the campaign
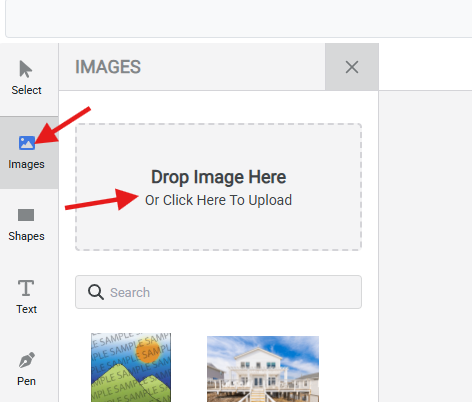
Step 1: Upload an Image
- Click on the image button on the left side menu
- Drag and drop image into gray upload box
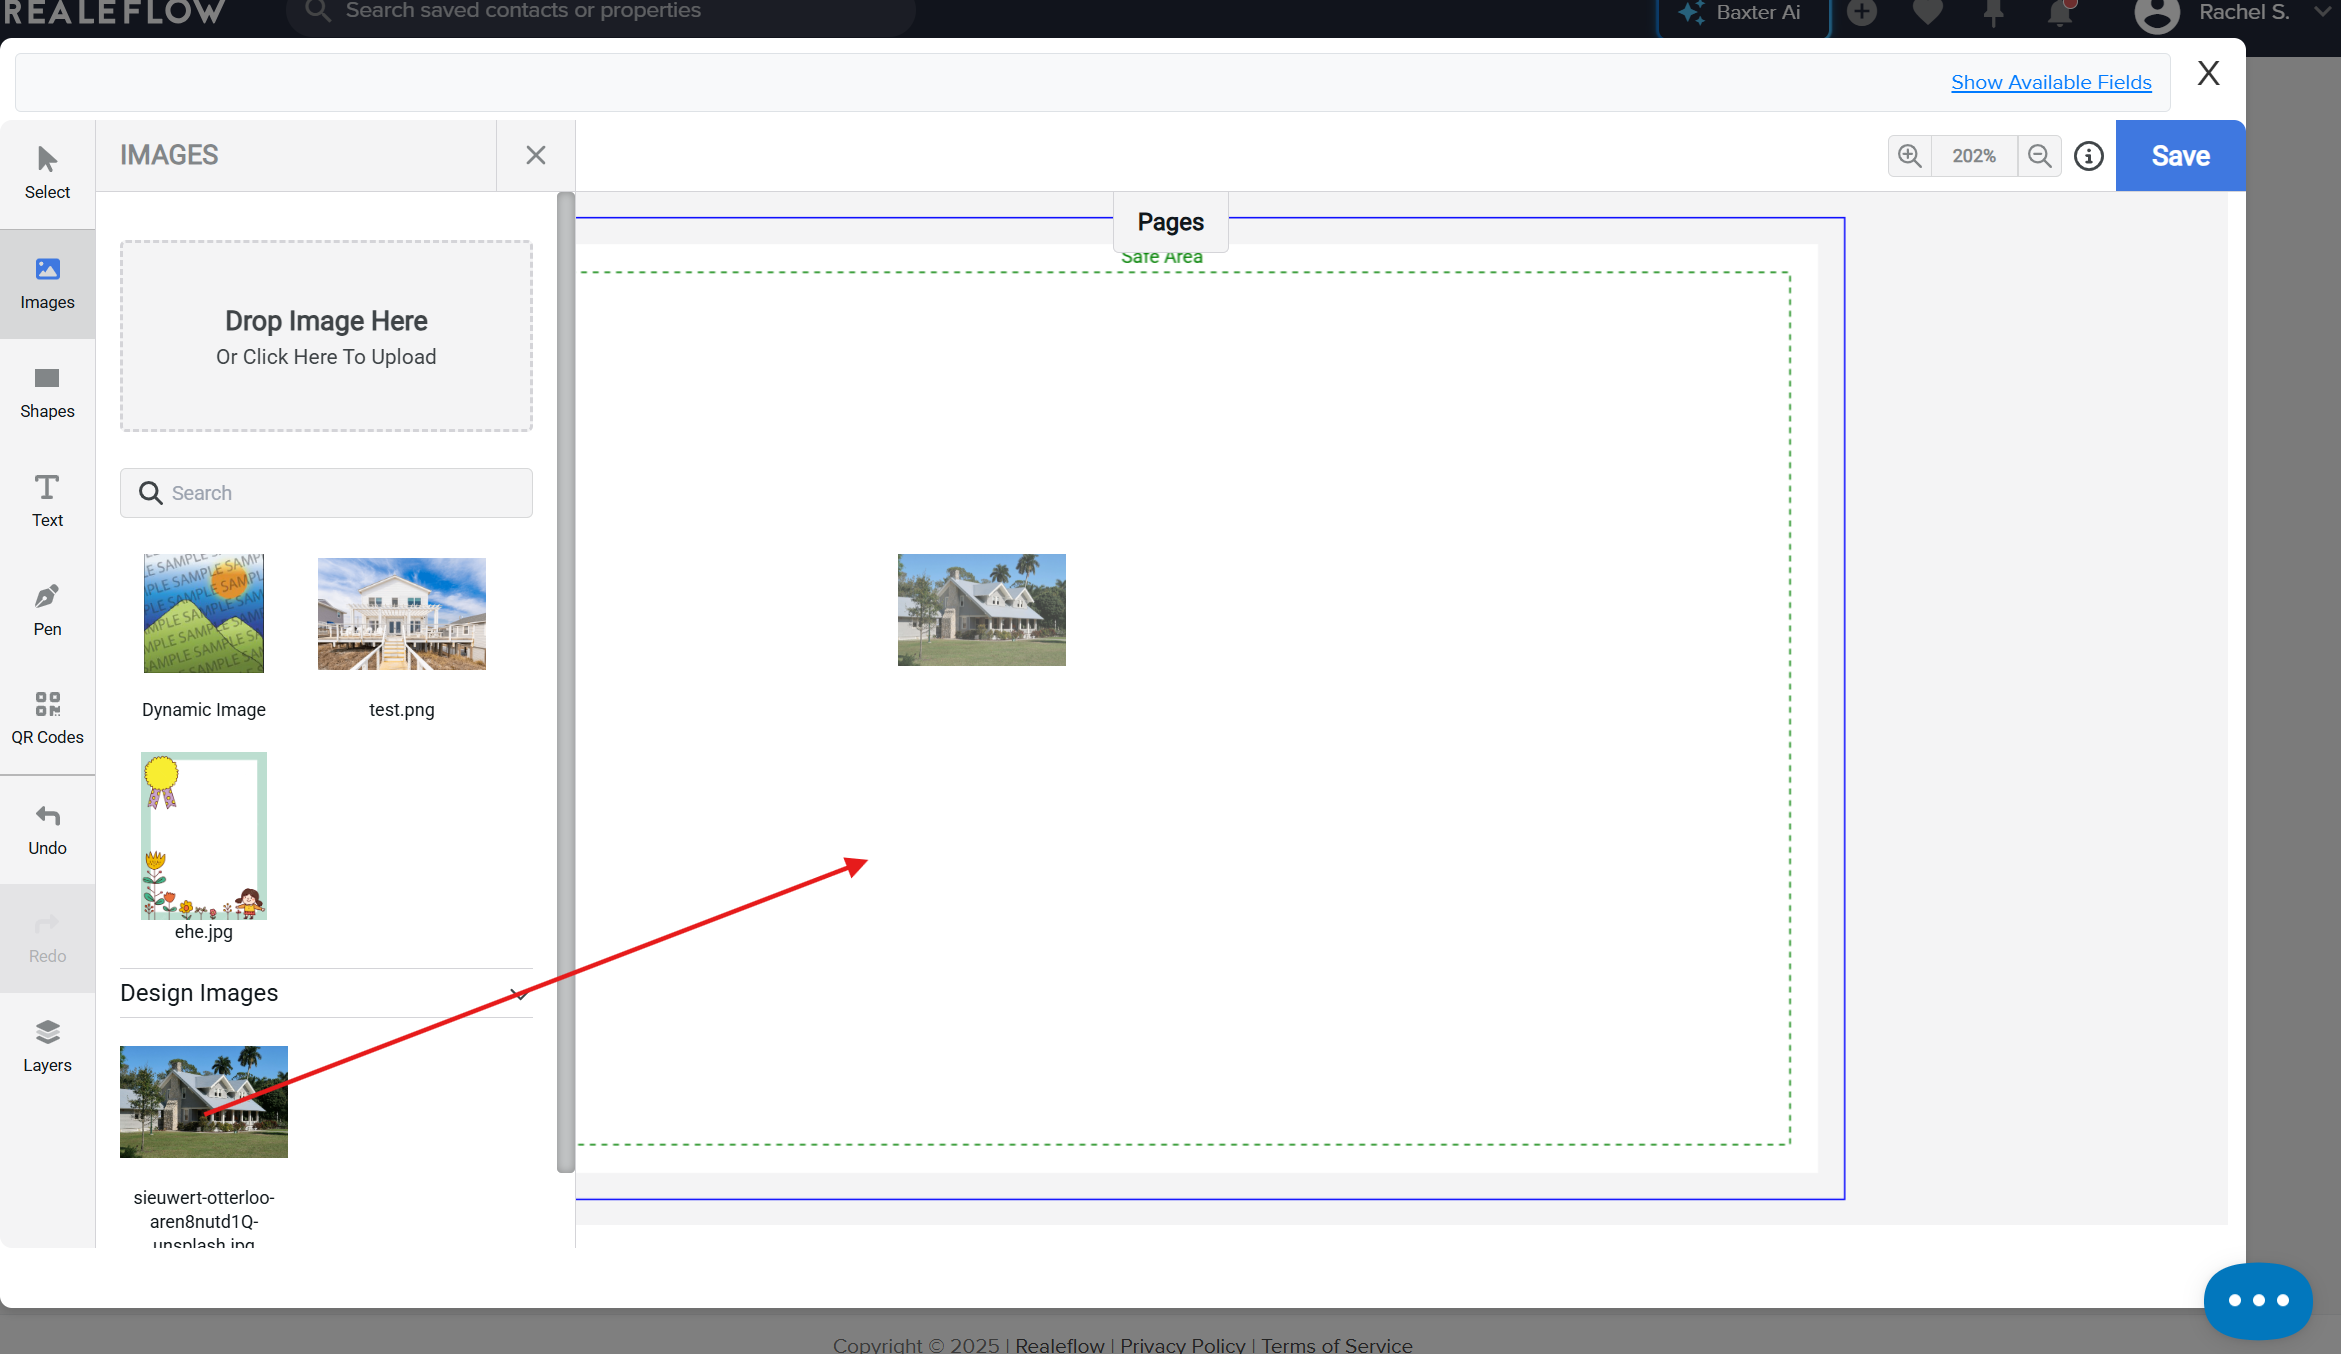
- Click your uploaded image and drag it into the template
-
Resize and reposition the logo as needed by dragging the corners and moving it into place
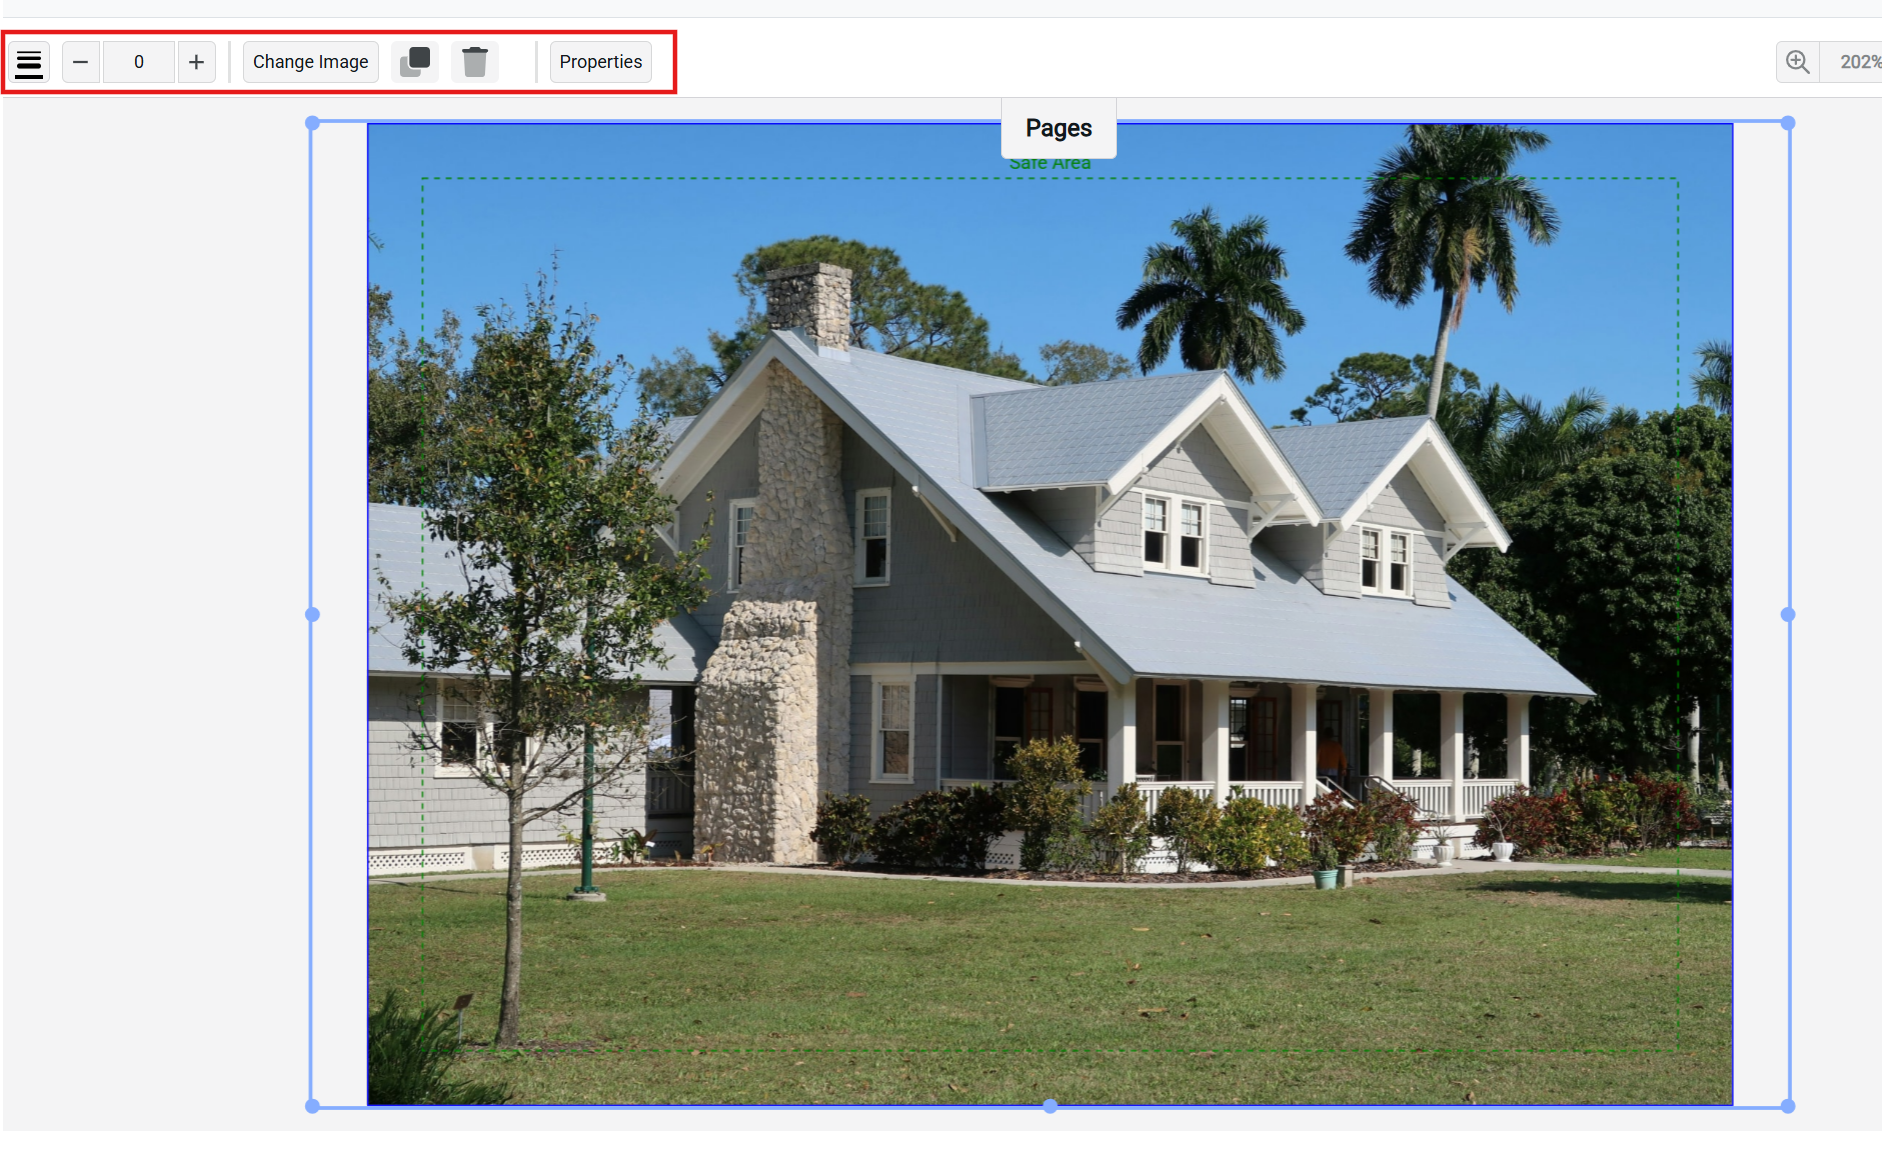
a. When clicking in the image container, you will have a full menu of options to Change image, duplicate, delete, or adjust advanced properties at the top left
*Important Note: If you want the image to completely cover the front of the postcard, you will need to make sure the image extends to the edge of the template, past the green safe area.
Change the Image - Click on the image placeholder you want to replace
- Select Change Image
- Click Click here to upload
- Select your image file and click Open
Click Confirm
Important: If you want your image to extend to the edges of the postcard, make sure the image extends to the Blue Bleed Area line. All Text needs to stay in the Green Safe Area boundary to ensure it displays after the postcard is cut.
Step 2: Add a Custom Image with Circular Frame
For images that need to appear in a circular frame (like profile photos):
Upload the Image
- Click on the image placeholder you want to replace
- Select Change Image
- Click Click here to upload
- Select your image file and click Open
- Click Confirm
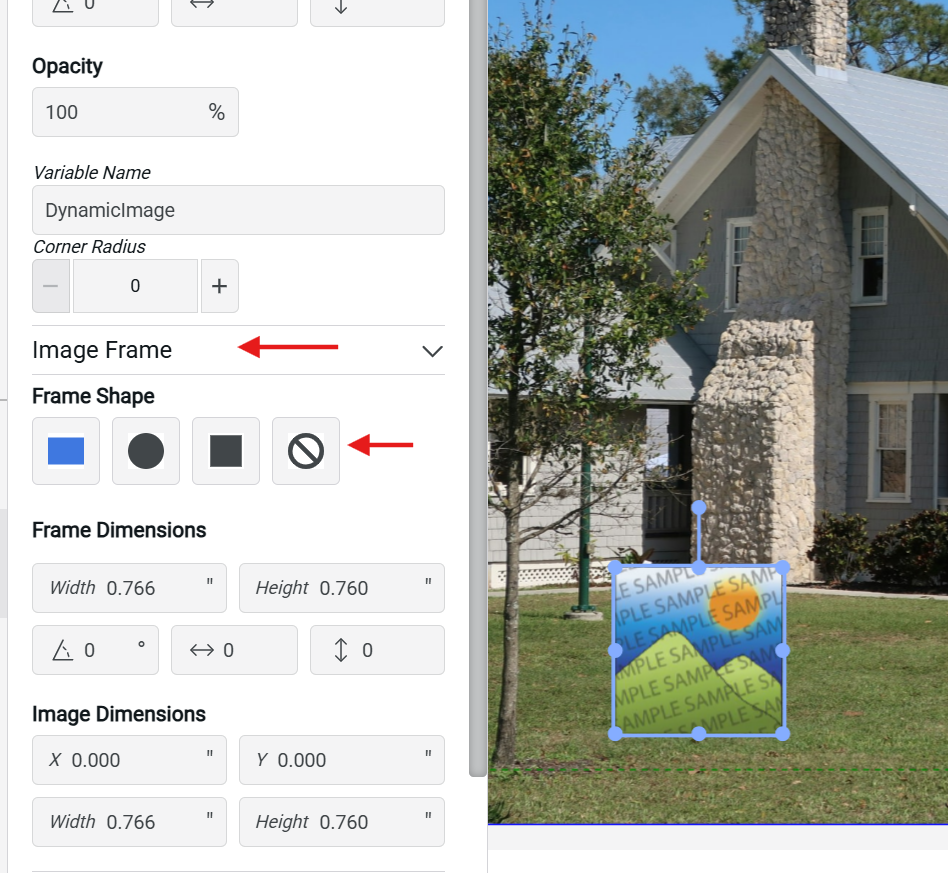
If your image doesn't fit correctly within circular frame:
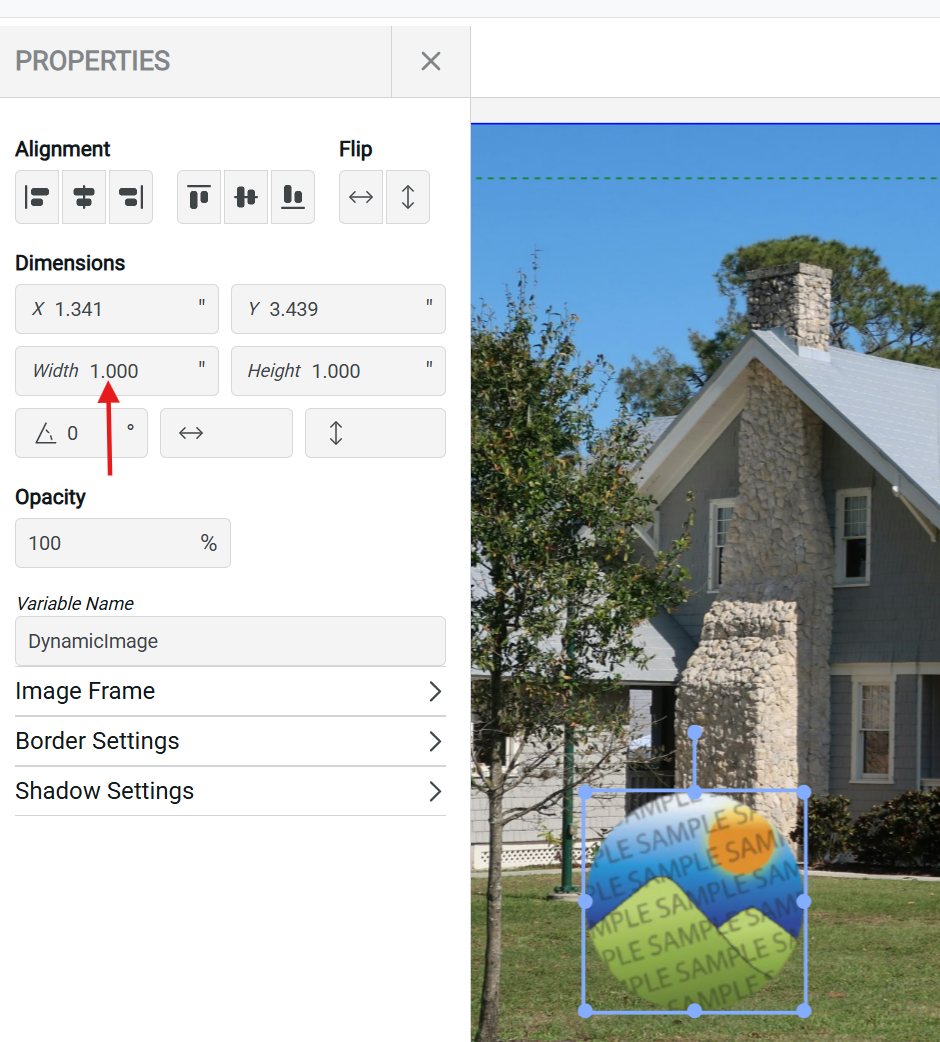
- Click into the image and click Properties from the top menu
- Click the Image Frame selector on the left-hand side panel
- Click the Reset Frame button to remove the current frame
- Increase the image width (try setting it to 2.0 or larger) to ensure the image will look good when the frame is reapplied
- Under Image Frame, click the Circle shape icon under "Circular Frame"
- Adjust the size to fit your design (try values like 1.3 or 1.5)
Tip: Don't be afraid to experiment with different sizes. You can always undo changes using Ctrl+Z (Windows) or Cmd+Z (Mac).
Step 3: Update Text Content
Create Name and Company Information
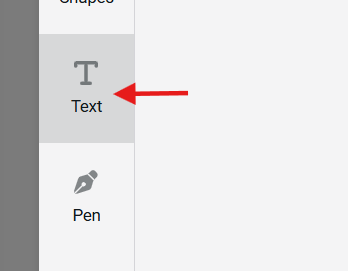
- Click on the text box field > select a Heading
- Double-click to highlight the placeholder text
- Type your new text (for example, replace "Your Name" with "John Doe")
- Repeat for other text fields like company name
- If needed, adjust the width of the text box by dragging the side handles

Step 4: Change Fonts and Text Styles
Update Font Family
- Click on a text box to select it
- Look at the top of the screen for the font dropdown (it may show "Open Sans" or another font name)
- Click the dropdown to open the font selector panel
- Choose your desired font (for example, "Montserrat")
Adjust Font Weight
- With the text box selected, click on the text style dropdown (may show "Normal," "Medium," "Bold," etc.)
- Select your preferred weight:
- Medium for moderately bold text
- Semi-Bold for heavier emphasis
- Bold for maximum impact
Apply Consistent Formatting
For a professional look, apply the same font and style across similar text elements:
- Select each text box one at a time
- Apply the same font family
- Choose appropriate weights (headings typically use bolder weights than body text)
Tip: If changing the font affects the text layout, you may need to resize text boxes or reposition elements.
Step 5: Resize and Reposition Text Boxes
Resize a Text Box
- Click on the text box to select it
- Drag the corner or side handles to adjust width and height
Move Multiple Elements Together
- Hold Shift and click on each element you want to move
- All selected items will move together when you drag them
- This is useful for maintaining spacing between related elements
Important: All Text needs to stay in the Green Safe Area boundary to ensure it displays after the postcard is cut.
Step 6: Modify Colors
To change the color of shapes or design elements:
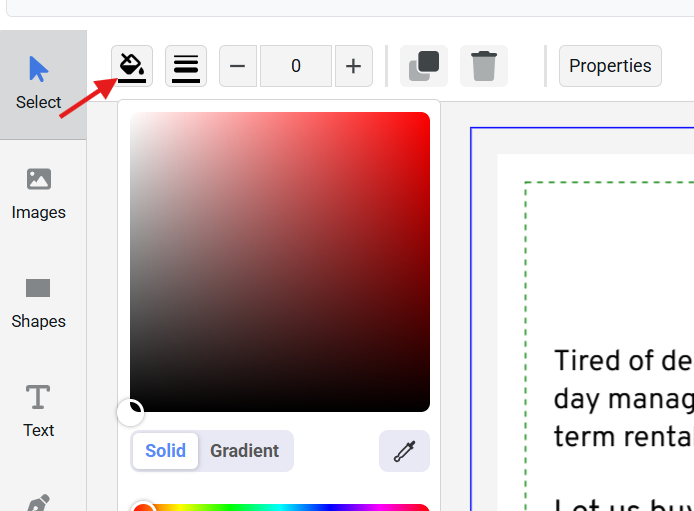
- Click on the element / shape you want to recolor
- Look for the Paint icon in the top-left toolbar
- Click the icon to open the color selector
- Choose your desired color from the palette
Step 7: Customize Contact & Property Information by using Merge Fields
- Utilize Text Boxes to add any required merge fields.
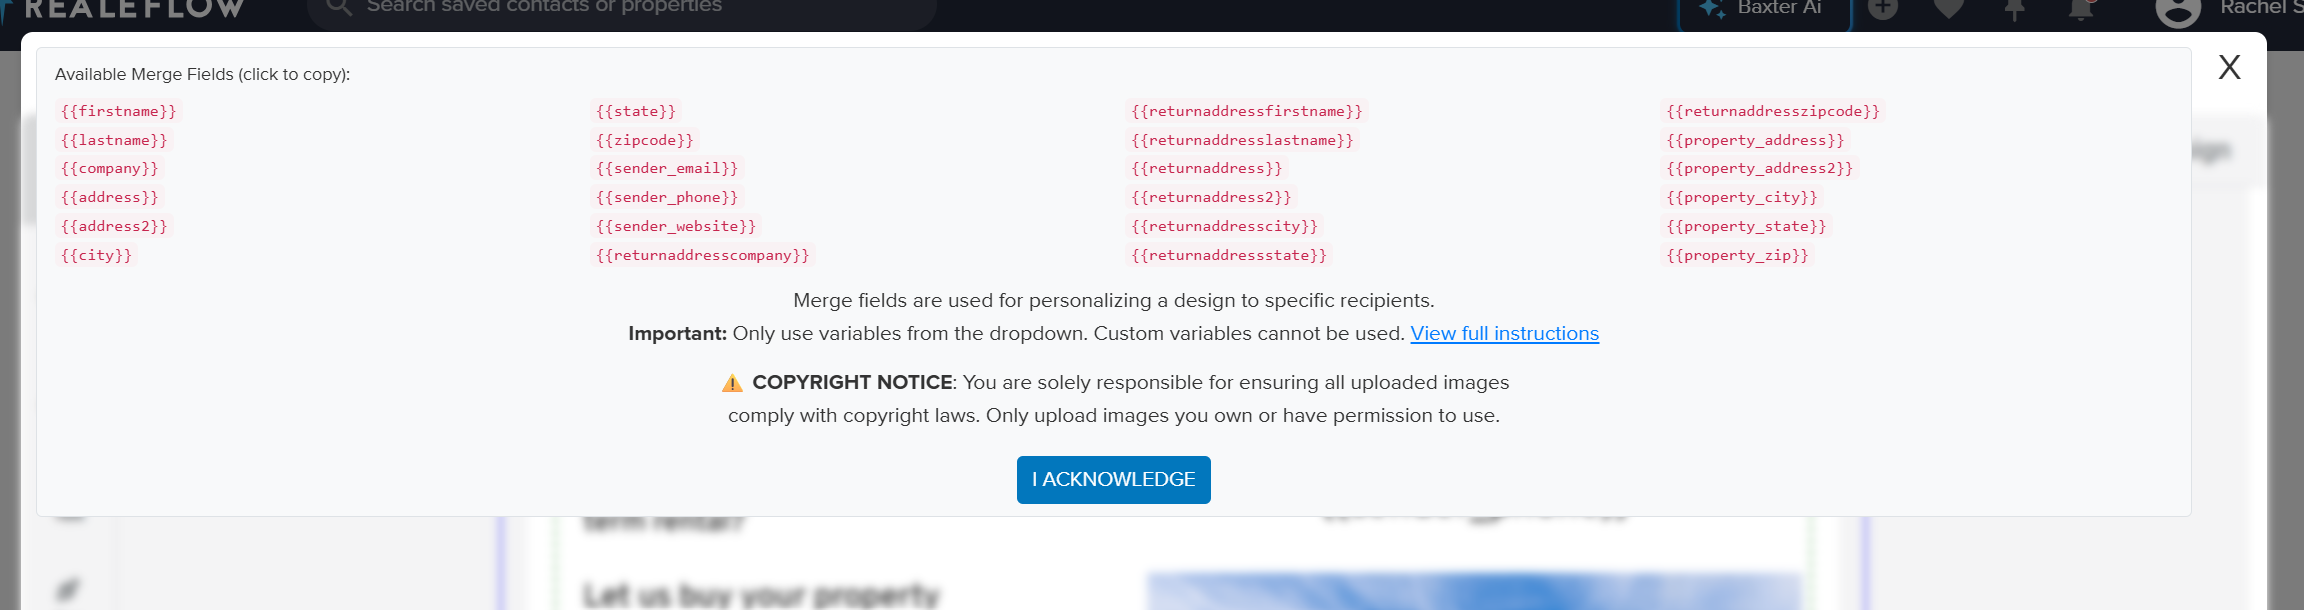
- Open the merge fields menu at the top right to copy and paste content like your contact information or recipient information. All merge fields must be in the menu to be used in your mail piece. All merge fields must be enclosed with curly brackets
{{sender_email}}
For more details on merge field variables read our Adding Merge Fields article.
- Apply consistent fonts and adjust sizing to match your design
Important: Only use variables from the dropdown. Custom variables created with curly brackets will fail validation.
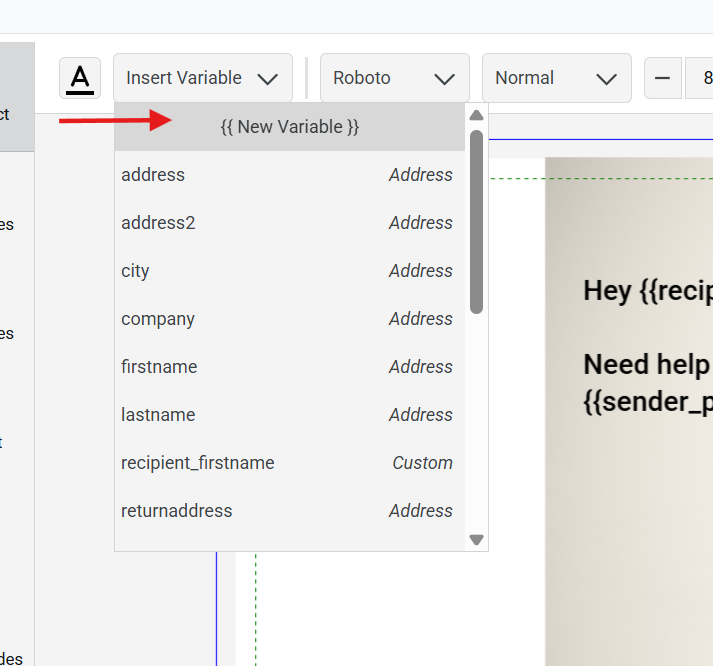
When editing text boxes, there is another dropdown (Insert Variable) where the merge fields are accessible. These fields are another way to quickly access Recipient or Return Address fields.
Do not use the {{ New Variable }} option unless you are using it to manually create a Property or Sender Specific field, as these are not accessible within the Insert Variable dropdown menu. These unique fields are listed below and in the global Available fields dropdown.
Property Specific Fields{{property_address}}{{property_address2}}{{property_city}}{{property_state}}{{property_zip}}
Sender Specific Fields
{{sender_email}}{{sender_phone}}{{sender_website}}
Full List of Available Fields
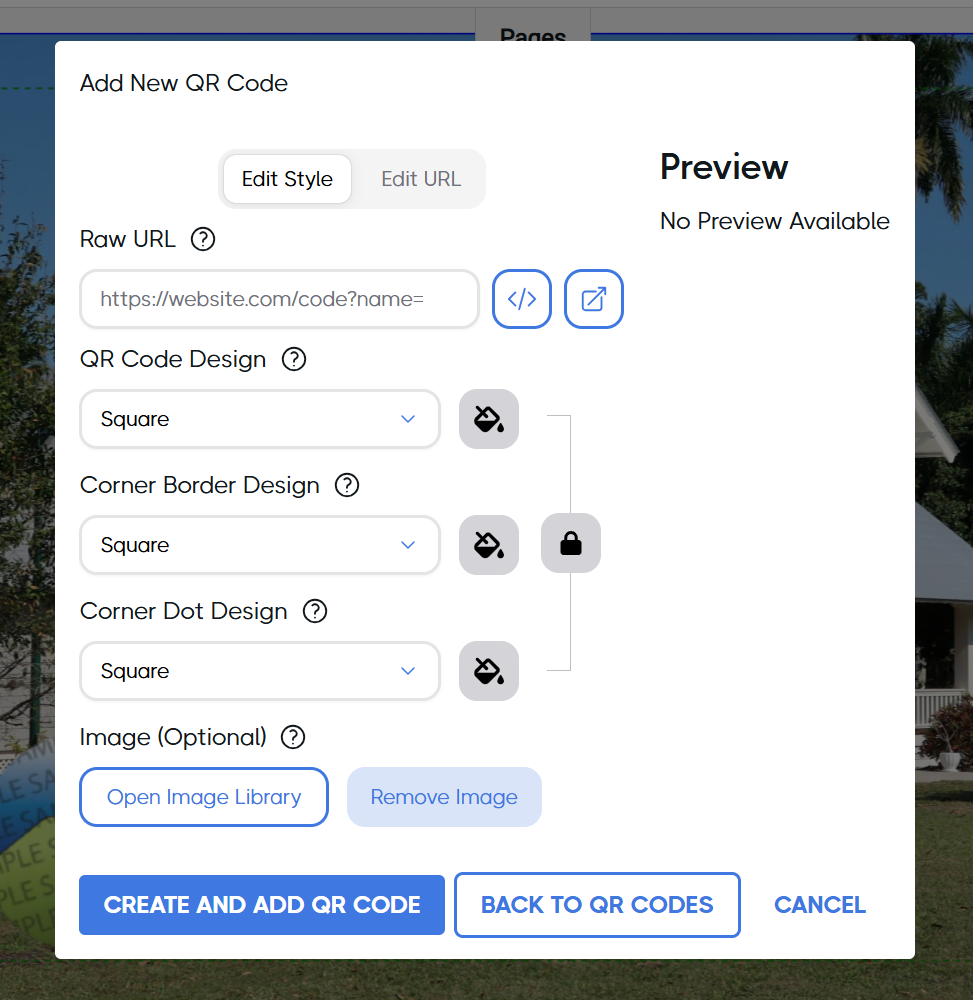
Step 8: Create custom QR Codes
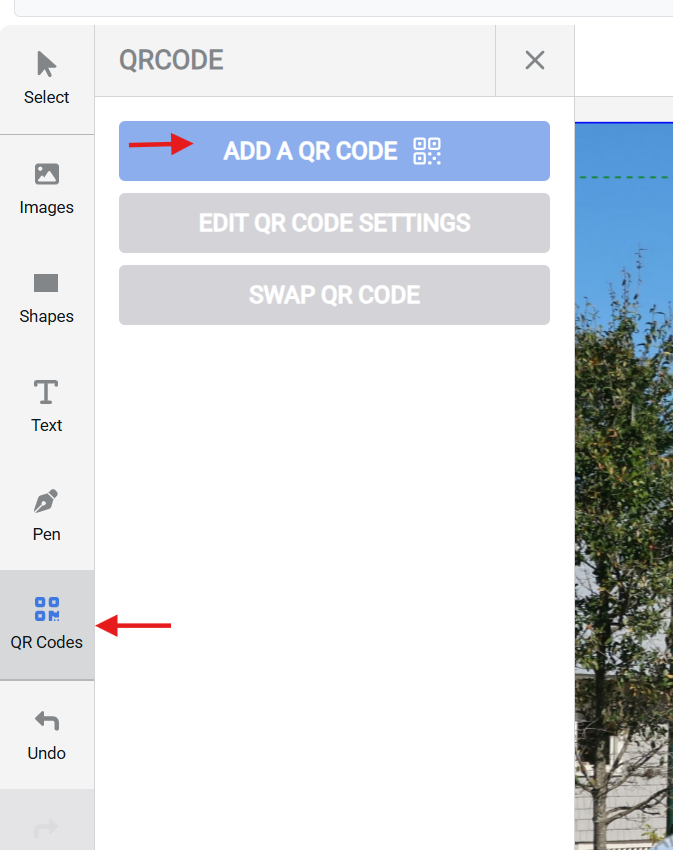
1. Click the QR Codes selection on the left menu and click Add A QR Code
2. Click Create New QR Code
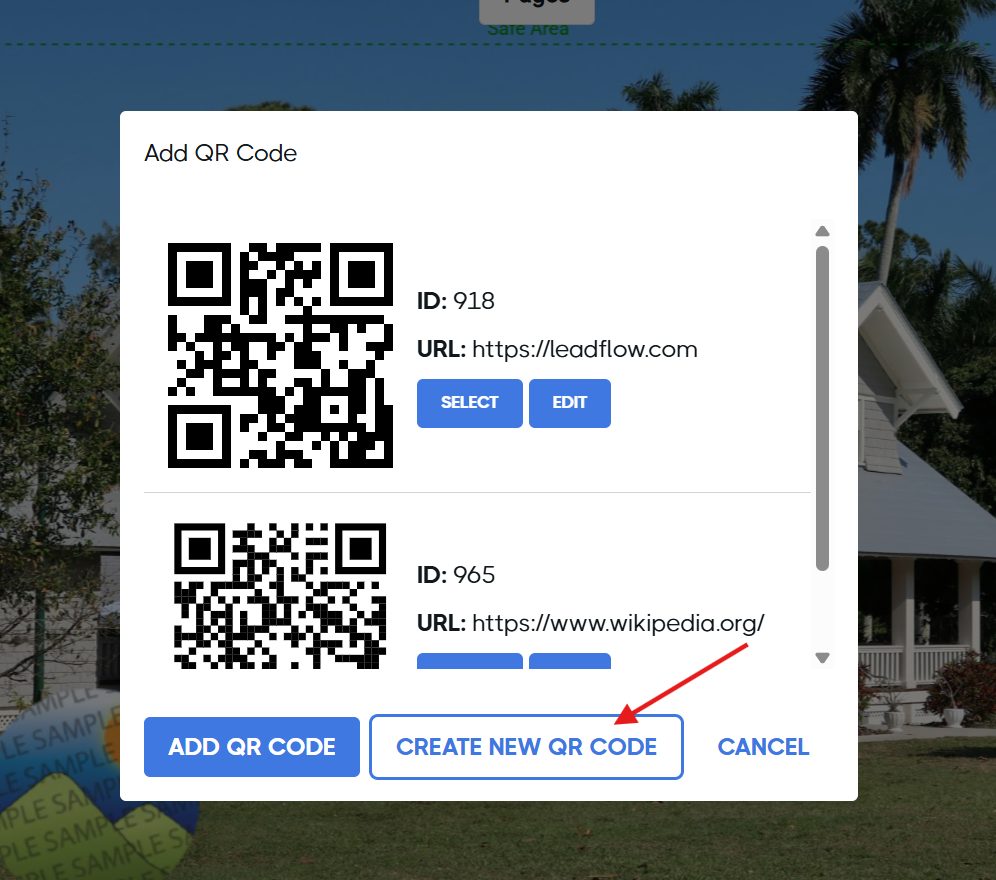
3. The most important component is to enter a "Raw URL" that you would like to direct the recipient to when scanning the WR code. This could be a unique website opt-in form, social media page, etc.
4. You can customize the design of the square including color, borders, and optional images in the center of the square.
5. Make sure to click "Create and add QR Code" when your edits are complete.
TIP: We will save your unique QR code in the template library for your to utilize in the future. You can create new ones and edit existing ones at any time by following the process outlined above.
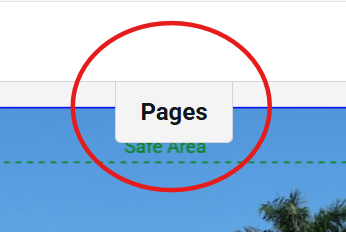
Step 9: Create the Back of your Postcard
1. Click the "Pages tab" at the top of your design to switch to the back of your postcard.
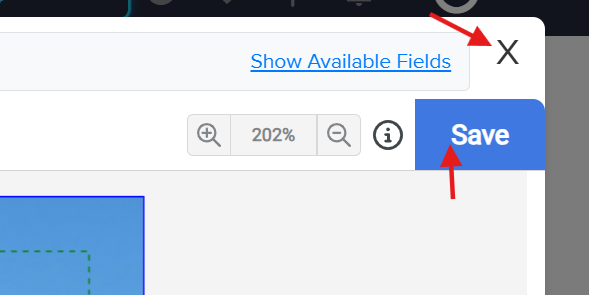
Make sure to Save your work before exiting the editor after you have finalized your changes. Otherwise, your work will be lost and can't be recovered. You can make edits at any time moving forward.
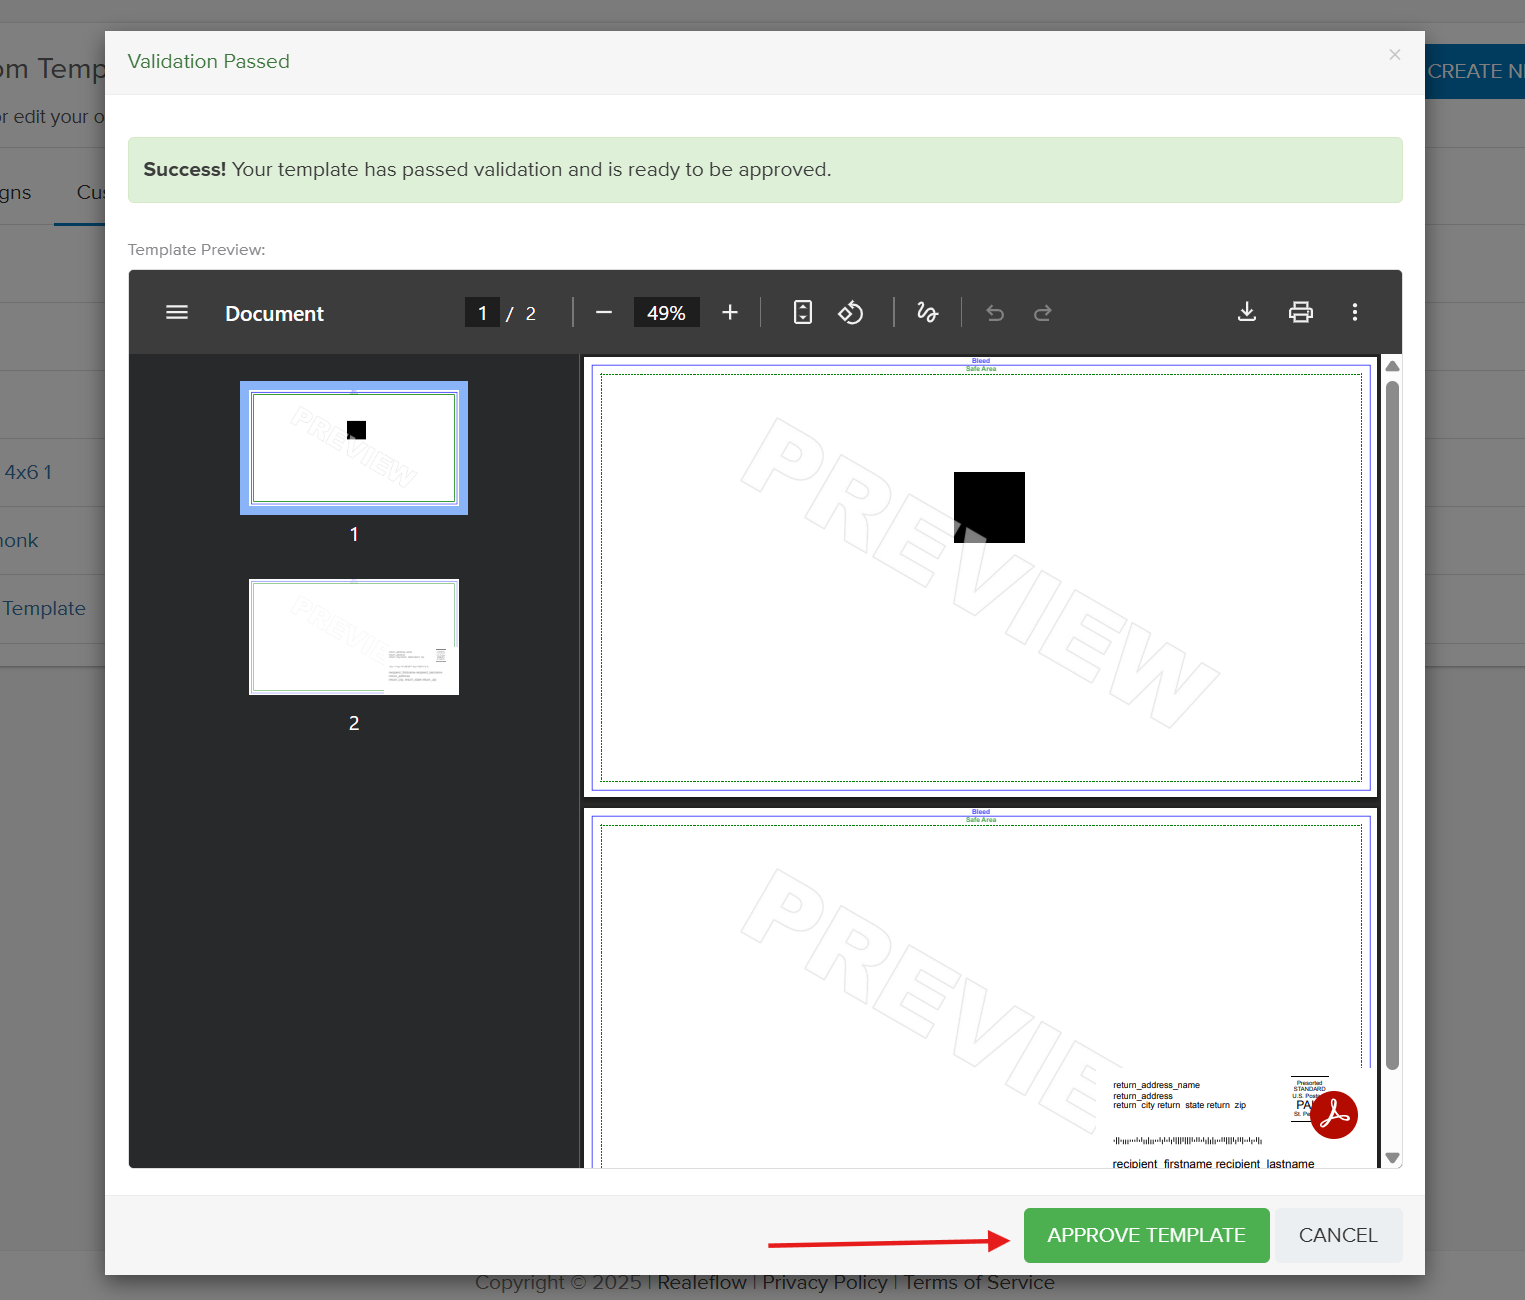
Step 11: Validate your campaign by previewing your template
After exiting the editor, you will be taken to the Custom Templates Dashboard.
1. Navigate to the Actions column for the template you created.
2. Click the Orange checkmark, which indicates that it requires validation, and a preview of your design will populate.
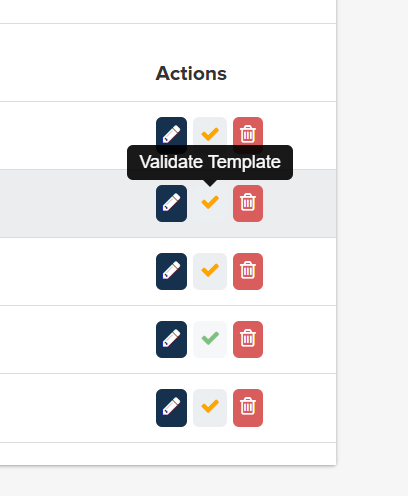
3. You are responsible for reviewing and finalizing the details of your template.
4. Once you have reviewed click APPROVE TEMPLATE
Step 12: Start using your template in future campaigns
1. You will now see this validated template in your Direct Mail Campaign set-up under the "Custom" Audience tab.
1a. Make sure to click the size of the postcard to display the new template
Tips for Success
- Experiment freely: Use Undo (Ctrl+Z or Cmd+Z) if something doesn't look right
- Maintain consistency: Use the same fonts throughout your design for a professional appearance
- Check proportions: After uploading images, resize them appropriately to maintain visual balance
- Preview your work & Save work: Step back periodically to view the overall design and save changes
- Both sides matter: Remember to customize the back of your postcard as well using these same techniques
Need More Help?
If you have questions about customizing your postcard template, contact our support team.
Josh Tobias
Comments