How to Add Merge Fields to Your Postcard Design
Personalize your direct mail postcards by adding merge fields that automatically populate with recipient-specific information. This guide shows you how to insert merge fields like names, addresses, and contact details into your postcard design.
What Are Merge Fields?
Merge fields are placeholders that automatically fill in with personalized information for each recipient when your postcards are printed. Instead of creating individual designs for each person, you can create one template that dynamically updates with each recipient's details.
Common uses for merge fields:
- Personalizing greetings with recipient names
- Including property addresses in your message
- Adding your contact information consistently across all cards
- Creating customized offers based on recipient data
Step 1: Access Available Merge Fields
- Open your postcard design in the editor
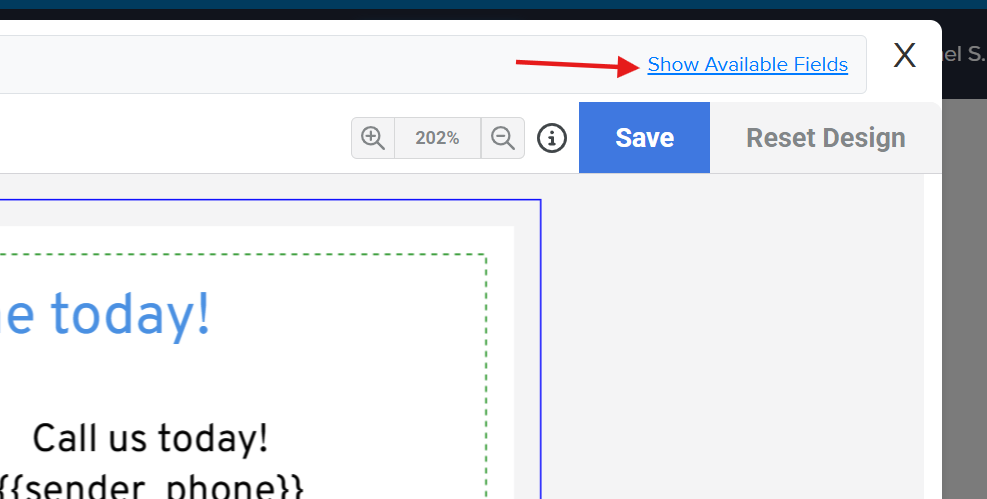
- Look for the "Show Available Fields" link in the top-right corner of the editor
- Click this link to display the Merge Fields panel
- You'll see a list of all available merge fields you can use in your design
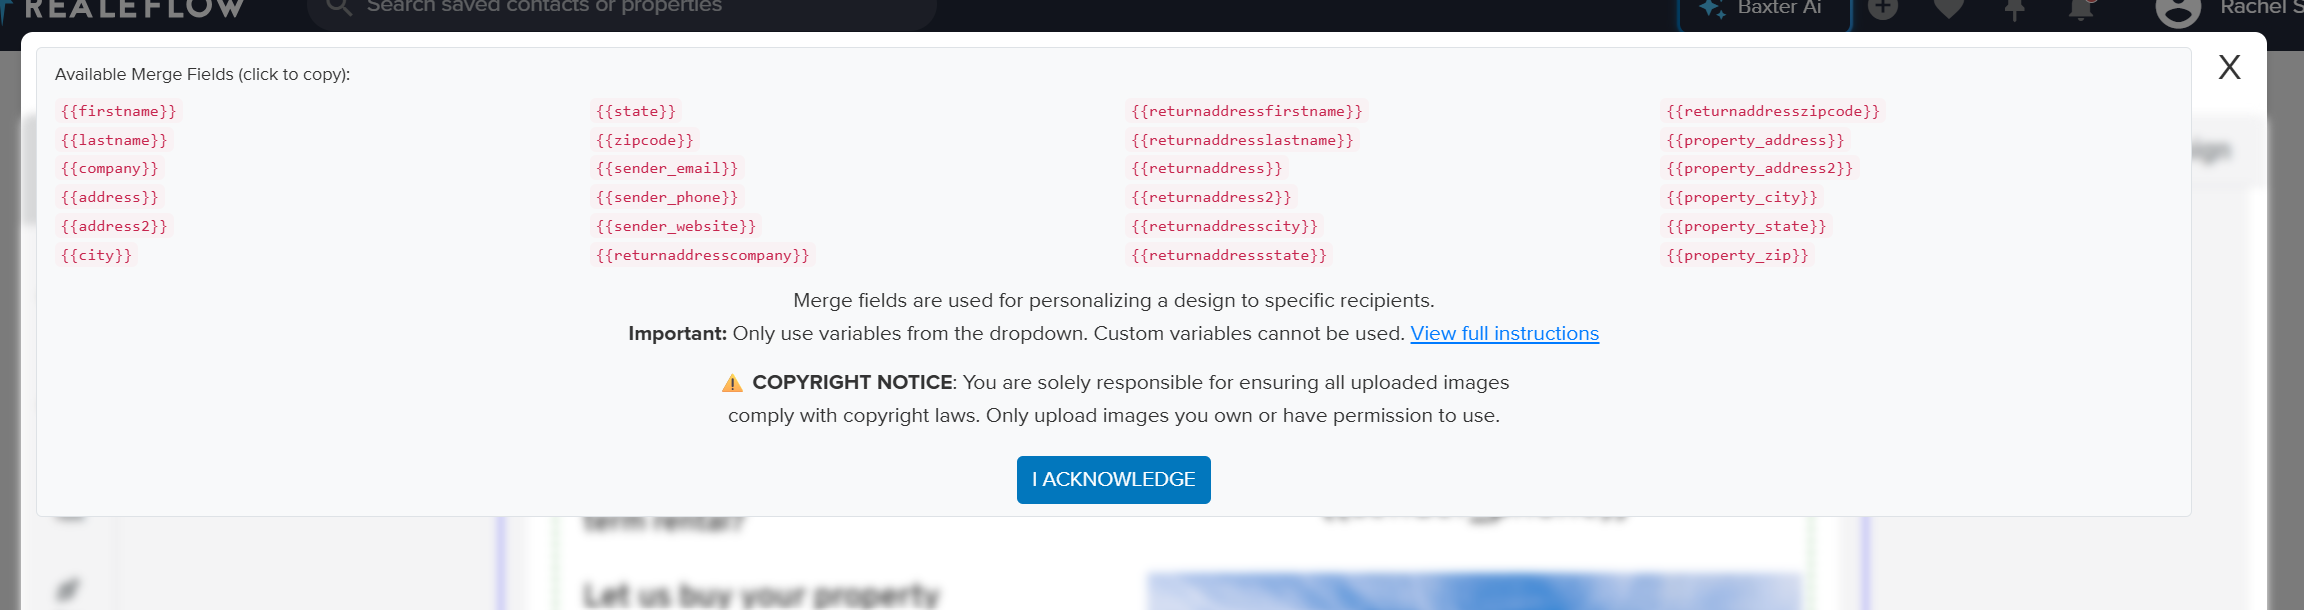
Important: Only use variables from the dropdown. Custom variables created with curly brackets will fail validation.
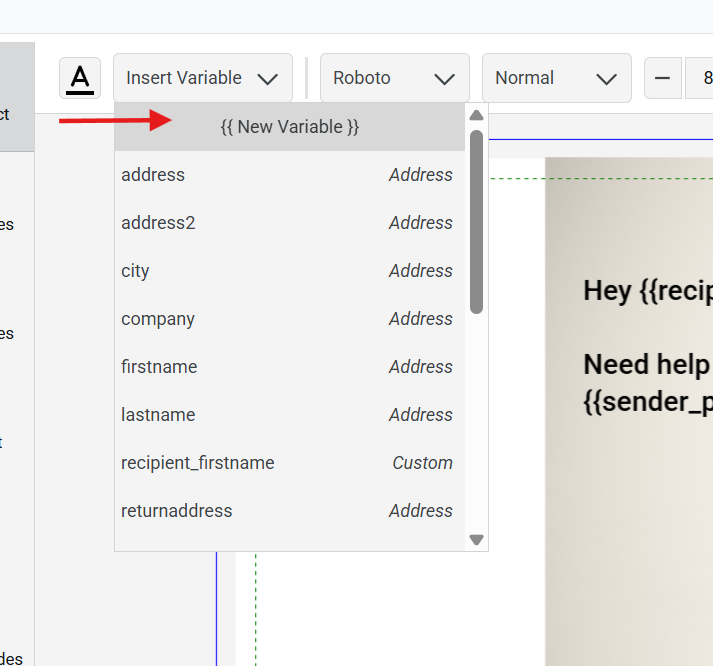
When editing text boxes, there is another dropdown (Insert Variable) where the merge fields are accessible. These fields are another way to quickly access Recipient or Return Address fields.
Do not use the {{ New Variable }} option unless you are using it to manually create a Property or Sender Specific field, as these are not accessible within the Insert Variable dropdown menu. These unique fields are listed below and in the global Available fields dropdown.
Property Specific Fields{{property_address}}{{property_address2}}{{property_city}}{{property_state}}{{property_zip}}
Sender Specific Fields
{{sender_email}}{{sender_phone}}{{sender_website}}
Step 2: Add a Merge Field to Your Design
Copy the Merge Field
- In the Merge Fields panel, locate the field you want to use
- Click on the merge field to copy it to your clipboard
- The field will be formatted with double curly brackets, like
{{property_address}}Paste into a Text Box
- The field will be formatted with double curly brackets, like
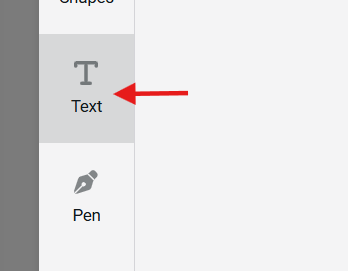
- Click on the text box in your design where you want the personalized information to appear and select your text format
- Double-click inside the text box to enter edit mode
- Position your cursor where you want to insert the merge field
- Paste the merge field (Ctrl+V on Windows or Cmd+V on Mac)
- The merge field will appear in your text box as
{{field_name}}
Example: To create a personalized greeting, you might type:
Hi {{recipient_firstname}},
When printed, this would appear as "Hi John," for one recipient and "Hi Sarah," for another.
Available Merge Fields
Recipient Information
Use these fields to personalize your message to each recipient:
| Merge Field | Description | Example Output |
|---|---|---|
{{recipient_firstname}} |
Recipient's first name | John |
{{recipient_lastname}} |
Recipient's last name | Doe |
{{recipient_fullname}} |
Recipient's full name | John Doe |
{{recipient_address}} |
Recipient's mailing address | 123 Main Street |
{{recipient_city}} |
Recipient's city | Pittsburgh |
Property Information
Use these fields to reference specific property details:
| Merge Field | Description | Example Output |
|---|---|---|
{{property_address}} |
Property street address | 456 Oak Avenue |
{{property_address2}} |
Property address line 2 | Unit 5B |
{{property_city}} |
Property city | Seven Fields |
{{property_state}} |
Property state | PA |
{{property_zip}} |
Property ZIP code | 16046 |
Your Contact Information
Use these fields to include your business details:
| Merge Field | Description | Example Output |
|---|---|---|
{{sender_name}} |
Your name | Jane Smith |
{{sender_company}} |
Your company name | ABC Realty |
{{sender_email}} |
Your email address | jane@abcrealty.com |
{{sender_phone}} |
Your phone number | (555) 123-4567 |
{{sender_website}} |
Your website | www.abcrealty.com |
Step 3: Combine Merge Fields with Regular Text
You can mix merge fields with regular text to create personalized messages:
Example 1: Personalized Property Inquiry
{{recipient_fullname}},

We noticed your property at {{property_address}}
may be a great opportunity. Let's discuss!

Call me at {{sender_phone}}
Example 2: Custom Contact Section
{{sender_name}}
{{sender_company}}
{{sender_phone}} | {{sender_email}}
{{sender_website}}
Best Practices for Using Merge Fields
Design Tips
- Test your layout: Merge fields can vary in length (names and addresses differ), so ensure your text boxes are large enough to accommodate longer values
- Use appropriate fonts: Choose readable fonts, especially for addresses and contact information
- Check alignment: Make sure merged text aligns properly with your design elements
- Leave space: Allow adequate space around merge fields so text doesn't appear cramped
Content Tips
- Personalize strategically: Use names in greetings and throughout your message to increase engagement
- Double-check spelling: Merge field names are case-sensitive and must be typed exactly as shown
- Consider fallbacks: Plan what your design looks like if a field is empty for some recipients
Troubleshooting Merge Fields
Merge Field Not Populating
Important: Only use variables from the dropdown. Custom variables created with curly brackets will fail validation.
- Check spelling: Ensure the merge field is spelled exactly as listed (case-sensitive)
- Verify brackets: Make sure you're using double curly brackets
{{}}not single brackets or parentheses - Confirm data source: Verify that your recipient list includes the corresponding data field
Text Box Too Small
- Resize your text box to accommodate the longest potential value
- Test with sample data that represents your longest addresses or names
Formatting Issues
- If merged text doesn't match your design, select the entire text box and apply consistent formatting
- Ensure font size and style are appropriate for the merged content
Preview Your Personalized Design
Before sending your postcard campaign:
- Preview your design with sample data to see how merge fields populate
- Check that all fields display correctly
- Verify spacing and alignment with different name and address lengths
- Test both short and long values to ensure your design adapts well
Need Help?
If you have questions about using merge fields in your postcard design or need assistance with custom fields, contact our support team.
Ready to personalize your postcards? Start adding merge fields to your design today!
Josh Tobias
Comments